
Main Courses
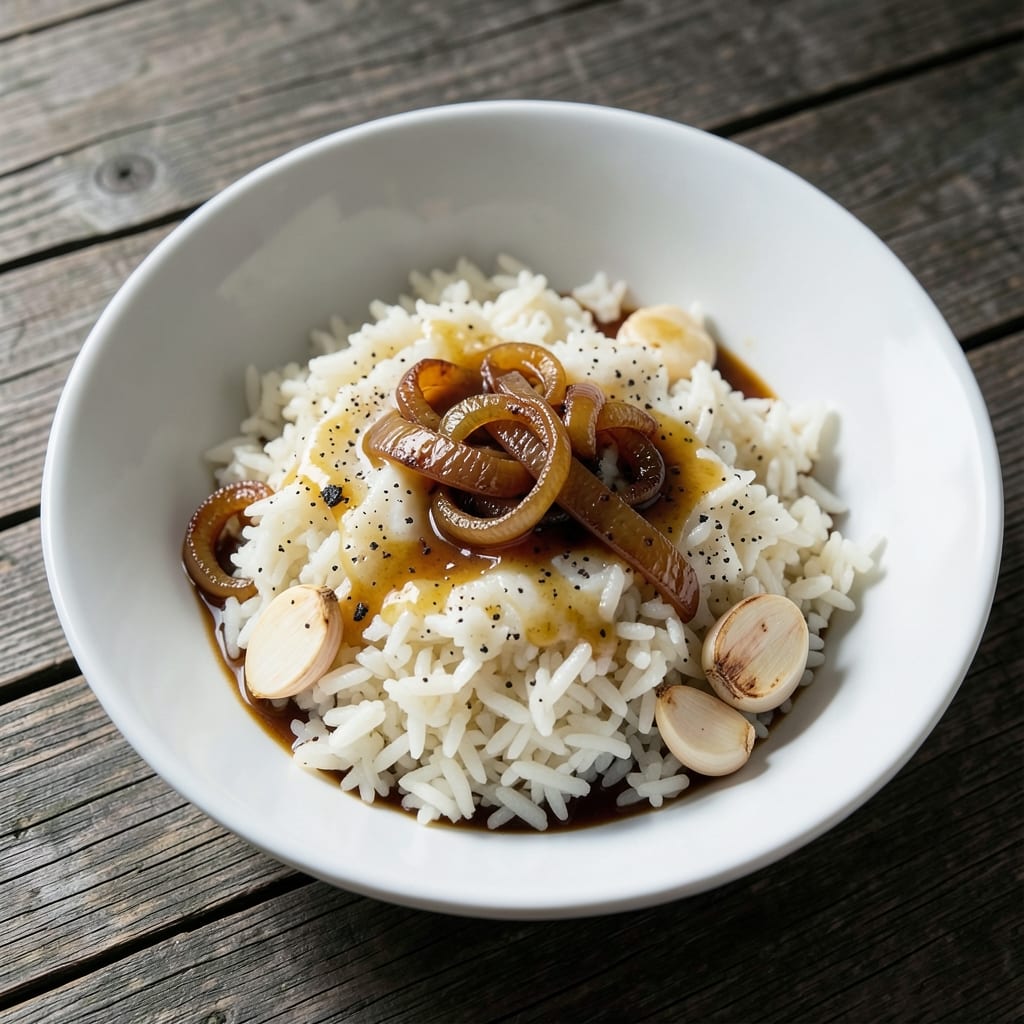
This Applebee's copycat rice recipe delivers the signature toasted spice base and perfect texture you crave—without the restaurant markup. 💛 The secret lies in blooming whole spices in butter before adding rice and broth, creating layers of aromatic flavor that transform simple grains into something extraordinary. I've replicated their foolproof method after years of testing, ensuring every bite delivers that familiar, comforting taste.
The foundation starts with a rich, toasted spice base where garlic, onions, and seasonings caramelize in butter before rice even enters the pot. This technique builds deep, savory flavor that infuses the grains as they cook. Using long-grain white rice ensures the ideal texture—separate, fluffy, and never mushy—while chicken broth adds subtle depth. The result? Restaurant-quality rice that's crispy at the edges and tender throughout, with just the right amount of seasoning.
What makes this recipe truly special is its versatility—it works as a standalone side or pairs perfectly with grilled chicken, shrimp, or steak. The toasted spice base keeps well for up to a week, making it ideal for meal prep. Whether you're recreating a favorite Applebee's meal at home or elevating a weeknight dinner, this method delivers consistent, professional results every time.
The key to success is patience during the spice blooming stage—don't rush this step, as it's what creates that distinctive Applebee's flavor. Once mastered, this technique becomes your go-to for restaurant-quality rice in minutes. Let's get started on recreating this home cooking staple that always impresses.
Ingredients for applebee's rice
The secret to Applebee's signature rice lies in these carefully balanced ingredients—where toasted spices and butter create layers of flavor.
| Ingredient | Amount | Notes |
|---|---|---|
| Unsalted Butter 🧈 | ½ cup | Cold, cubed for even melting |
| Yellow Onion 🧅 | 1 whole | Diced into small, even pieces |
| Garlic Cloves 🧄 | 4 cloves | Minced finely for aromatic depth |
| Long-Grain White Rice 🍚 | 1 ½ cups | Uncooked, rinsed thoroughly |
| Chicken Broth 💧 | 2 cups | Low-sodium preferred for balance |
| Ground Black Pepper 🌶️ | ½ tsp | Freshly cracked for maximum flavor |
| Ground Cumin 🌿 | ¼ tsp | Toasted for enhanced aroma |
| Paprika 🌶️ | ½ tsp | Smoked variety for depth |
| Salt 🧂 | 1 ½ tsp | Diamond Crystal preferred |
| Vegetable Oil 🫒 | 1 tbsp | For crisping rice edges |
| Fresh Parsley 🌿 | ¼ cup | Chopped for garnish |
The unsalted butter is non-negotiable—it's what carries the toasted spice flavors into the rice. European-style butter like Plugrá melts more smoothly, but any high-quality brand works. For the onions, yellow or white varieties both work, but yellow adds subtle sweetness. Garlic should be freshly minced—pre-minced cloves lose flavor fast. The rice is the star, so long-grain white rice (like Mahatma or Uncle Ben's) is essential for that signature texture. I always buy mine in bulk from Costco—it's more economical and stays fresher longer. Chicken broth can be store-bought (like Swanson), but homemade adds depth if you've got the time.
No chicken broth? Vegetable broth works just as well—just add a pinch of chicken bouillon powder to mimic the flavor. Running short on smoked paprika? Regular paprika plus a dash of liquid smoke gets you close, though the flavor will be slightly different. Fresh parsley is ideal for garnish, but dried parsley at one-third the amount works in a pinch. The spices should be toasted in butter for 30 seconds before adding rice—this blooming step is what creates that restaurant-quality depth. If you're using pre-toasted spices, skip this step but add them directly to the butter. For the salt, Diamond Crystal kosher salt
This rice reheats beautifully—just add a splash of water or broth and cover for 5 minutes. It keeps well in the fridge for 4-5 days, though the texture is best within the first 2 days. For longer storage, freeze portions in airtight containers for up to 3 months. I like to portion it into individual containers so it's ready for quick lunches. The toasted spice base can be made ahead and stored in the fridge for 1 week, making this a perfect make-ahead side dish for busy weeknights.
Why You'll Love This Recipe
- Five-Ingredient Magic: I swear, this rice is the kind of dish that makes you question why you ever bought takeout. Butter, onion, garlic, rice, broth—that’s it. No fancy steps, no hidden pantry items, just pure, comforting flavor that comes together while you chop veggies for the rest of dinner.
- Buttery Garlic Hug: The moment that rich chicken broth meets melted butter and minced garlic? Chef’s kiss. It’s not just flavor—it’s a cozy, savory embrace that turns plain rice into something you’ll fight over at the table. Honestly, I’ve had worse meals at restaurants for twice the price.
- Leftover Goldmine: This rice actually improves the next day. Cold or reheated, it’s the perfect side for sandwiches, stir-fries, or just a quick lunch. I keep a batch in the fridge for emergencies, and my kids beg for it—yes, even after school nights when I’m too tired to cook.
- Weeknight Workhorse: No measuring cups, no fancy techniques—just a pot, a spoon, and 20 minutes. I’ve made this while waiting for steak to sear, while the oven preheats for roasted veggies, or even when I’m multitasking with laundry. It’s the kind of dish that lets you breathe during the chaos.
Step-by-step instructions for Applebee's copycat rice
The secret to Applebee's signature rice lies in toasting the spices and butter—this creates a nutty, aromatic base that transforms ordinary rice into something extraordinary.
🔥 Step 1: Create the Toasted Spice Base
Heat a large skillet or deep pot over medium-high heat and add the 1 tablespoon vegetable oil. Once the oil shimmers, add the 0.5 cup unsalted butter cut into cubes. Let it melt completely, about 2 minutes, until the butter foams and smells nutty.
Add the 1 whole yellow onion diced into small, even pieces and the 4 cloves garlic cloves minced finely. Cook for 5-6 minutes until the onions soften and the garlic becomes fragrant. Here's the crucial part: add the 0.5 tsp paprika, 0.25 tsp ground cumin, and 0.5 tsp ground black pepper. Stir constantly for 1-2 minutes until the spices darken slightly and release their aroma—this toasting builds the complex flavor that makes this rice stand out.
👨🍳 Step 2: Build Flavor with Salt and Rice
Reduce the heat to medium and add the 1.5 tsp salt (I use Diamond Crystal for its coarse texture). Stir for 30 seconds to distribute the salt evenly. Now add the 1.5 cups long-grain white rice and stir vigorously for 1 minute to coat each grain with the spiced butter mixture. You'll see the rice turn slightly translucent at the edges—this indicates proper coating.
Don't skip this step. The rice needs the fat to create that signature crispy texture at the edges. If the mixture looks dry, add 1-2 tablespoons of the 2 cups chicken broth to help distribute the spices evenly.
🍳 Step 3: Cook the Rice to Perfect Texture
Pour in the remaining 2 cups chicken broth (using low-sodium for better flavor balance). Bring to a gentle boil, then immediately reduce heat to low. The liquid should barely bubble at the edges—this prevents the rice from becoming mushy. Cover the pot with a tight-fitting lid and cook for 15 minutes without stirring.
Here's where precision matters: after 15 minutes, check the rice. It should be tender but still slightly firm in the center. If you see liquid at the bottom of the pot, the rice isn't done yet—cover and cook for another 2-3 minutes. If it looks dry, add 1-2 tablespoons of water or broth and cover again. The rice should be fluffy with just a hint of moisture remaining.
⏰ Step 4: Rest and Garnish for Restaurant Quality
Remove the pot from heat and let it sit covered for 5 minutes. This resting period allows the steam to redistribute, ensuring each grain is perfectly cooked. Then, gently fluff the rice with a fork, being careful not to mash the grains. The texture should be light and separate, with no clumping.
Finally, stir in the 0.25 cup fresh parsley chopped finely. The parsley adds a bright pop of color and freshness that balances the rich, toasted spices. Serve immediately while still warm—this rice tastes best fresh from the pot, with each grain maintaining its distinct shape and flavor.
Pro Tips For Making Applebee'S Rice
- Sweat the Onions Low: I learned this the hard way—cranking the heat too high on the onions turns them bitter before they even soften. Keep it at medium-low and stir often; you’re aiming for a deep golden color, not a sad, gray mush. The butter will add richness, but don’t let the onions burn first.
- Toast the Rice First: This isn’t just about flavor—it’s about texture. After sautéing the onions and garlic, dump in the rice and stir for 2 full minutes over medium-high heat. You’ll smell the nutty, toasty aroma; that’s your cue to add the broth. Skipping this step means mushy rice, no matter how much broth you use.
- Use Cold Broth: I was skeptical until I tried it: cold chicken broth instead of hot. It heats up faster, distributes evenly, and prevents the rice from absorbing liquid too quickly at the start. Just pop the broth in the fridge for 10 minutes before using—trust me, it makes a real difference.
- Don’t Stir After Adding Broth: Yes, even if you’re impatient like me. Once the broth hits the rice, walk away and let it simmer uncovered. Stirring releases starches too early, turning your rice into glue. After 10 minutes, fluff with a fork—just once—and let it sit for another 5. That resting time is non-negotiable for perfect grains.
Perfect pairings for this applebee's rice
Protein Pairings
This rice pairs perfectly with grilled chicken breast—the smoky, toasted spices complement the juicy protein beautifully. I like to marinate the chicken in lemon juice, garlic, and olive oil for 30 minutes before grilling. Serve with 2-3 chicken breasts per person alongside the rice for a balanced meal. 🍗
For seafood lovers, garlic butter shrimp is a showstopper. Sauté 1 pound shrimp in 3 tbsp butter with 3 minced garlic cloves and ½ tsp smoked paprika until pink (2-3 minutes per side). The shrimp’s sweetness contrasts wonderfully with the rice’s earthy spices.
Vegetable Sides
A simple steamed broccoli with lemon zest brightens the plate. Toss 3 cups broccoli florets with 1 tbsp olive oil, ¼ tsp salt, and zest of 1 lemon after steaming for 5 minutes. The acidity cuts through the richness of the rice.
For a heartier side, try sautéed green beans with garlic. Cook 1 lb green beans in 1 tbsp butter with 2 minced garlic cloves for 4-5 minutes until tender-crisp. Finish with 1 tbsp toasted slivered almonds for crunch.
Sauce Enhancements
Drizzle with creamy garlic aioli for extra indulgence. Mix ½ cup mayonnaise with 1 tbsp lemon juice, 1 minced garlic clove, and ¼ tsp salt. The cool, creamy sauce balances the rice’s warm spices perfectly.
For a lighter option, a red wine reduction elevates the dish. Simmer ½ cup red wine with 1 tbsp butter and 1 tsp sugar until reduced by half (5 minutes). Drizzle over the rice before serving for a sophisticated touch.
Nutrition facts
Frequently asked questions
Can I use brown rice instead of white rice?
White rice is ideal for this recipe because it cooks faster and maintains that signature fluffy texture. Brown rice would take 45-50 minutes to cook properly and might absorb too much liquid, resulting in a denser, less distinct grain. If you must use brown rice, increase the broth by ½ cup and simmer uncovered for 30 minutes before covering. The flavor will be nuttier, but the texture won't match the restaurant version.
Why does my rice turn out mushy?
Mushy rice usually happens when you stir too much during cooking or don't reduce the heat enough after boiling. The key is to bring the broth to a gentle boil once, then immediately reduce to low heat and cover completely. Never peek! Also, make sure your pot has a tight-fitting lid to trap steam. If it's still mushy, try toasting the rice in the dry pan for 2 minutes before adding liquid next time.
Can I make this rice in a rice cooker?
Follow the same spice base steps, then add the rice and broth to your rice cooker. Use the white rice setting and let it cook naturally. The toasted spices will still infuse beautifully, though you may need to add 1-2 extra tablespoons of broth since rice cookers often absorb more liquid. Pressurized cookers like Instant Pots work even better—they create that perfect steam environment.
What's the best way to store leftovers?
Store cooked rice in an airtight container in the fridge for up to 4-5 days. For longer storage, freeze portions in single-serving containers for 3 months. To reheat, add 1-2 tablespoons of water or broth per cup of rice, cover, and microwave on medium heat for 2-3 minutes, stirring halfway. The texture won't be as perfect as fresh, but it's still delicious!
Can I make the spice base ahead of time?
Yes! The toasted spice base keeps well in the fridge for 1 week in an airtight container. Just store the cooled butter-onion mixture separately from the spices. When ready to cook, reheat the base in a skillet over low heat for 3-4 minutes, then add the rice and broth as directed. This is perfect for meal prep—just make the base on Sunday and have restaurant-quality rice ready all week!